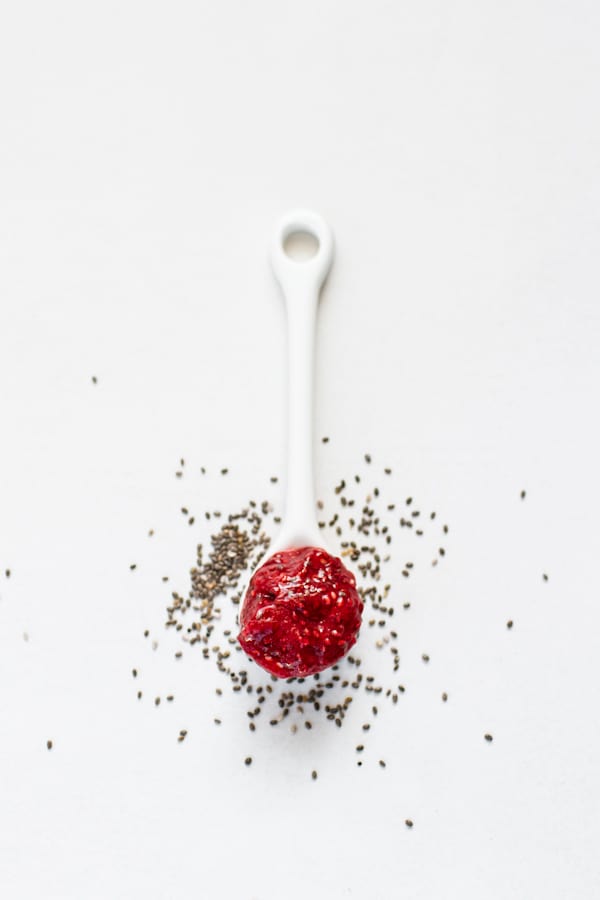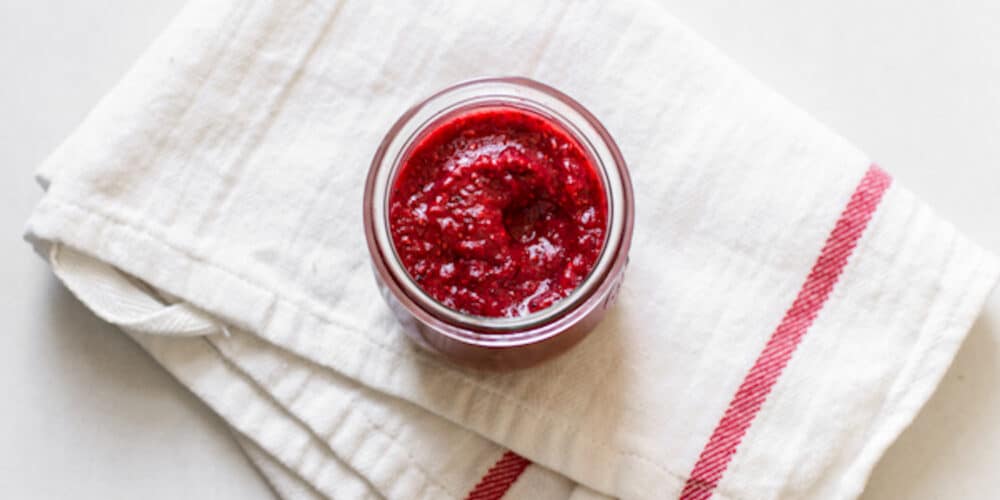
Looking for a healthy jam that is not loaded with sugar?? This Chia Seed jam is really easy to make and it has just 4 ingredients.
Made with natural sugar, fresh fruit, and Chia seeds it is a perfect complement to those who are trying to eat healthy. The gelling power of these tiny little seeds, allows us to transform a few cups of ripe fruit into a low-sugar, spreadable, spoonable, jam in about 20 mins!

Chia seeds are a superfood and are packed with healthy omega-3 fatty acids, they are rich in fibre and protein, and they turn any liquid into a thick gel. They absorb several times their mass in liquid, creating a jelly-like substance in the process. The jam can be made using any fruit you like but my favourite is strawberry! Here is what you need:
Ingredients
• 2 cups chopped fruit
• 1 to 2 tablespoons lemon juice, to taste
• 1 to 2 tablespoons honey, agave, maple syrup, or sugar, to taste
• 2 tablespoons chia seeds, plus more if needed
Instructions
1. Prepare the fruit as needed: Remove stems, pits, seeds, and skin, as needed.
2. Chop large fruits into small pieces. Berries can be left whole.
3. Cook the fruit until it starts to break down: Transfer the fruit to a saucepan and set over medium heat. Cook until the fruit breaks down and becomes syrupy, 5 to 10 minutes.
4. Mash the fruit with the back of a spatula or a potato masher, leaving it as smooth or as lumpy as you like.
5. Stir in the honey and lemon juice: Off the heat, stir in 1 tablespoon of the honey and lemon juice. Taste and add more honey or lemon juice to taste.
6. Stir in the chia seeds and let stand 5 minutes, until thickened: This won’t quite reach the firm consistency of regular jam, but it will noticeably thicken. If you’d like a thicker consistency, especially with very juicy fruits, stir in more chia seeds 1 teaspoon at a time.
7. Transfer to a jar or other storage container: Once the jam has cooled to room temperature, transfer it to a jar or other storage container. Store in the fridge for about 2 weeks. The jam will thicken further and become more set once completely chilled. The jam can also be frozen for up to 3 months; thaw in the fridge before using.
Recipe Notes
No-cook chia jam: Mash the fruit with a fork until pulpy and juicy, then stir in the rest of the ingredients. You can also combine all the ingredients in a blender, or use an immersion blender, and blend until the jam is completely smooth.
Uncooked chia jam tends to be a bit looser and more sauce-like than the stove top version; add extra chia seeds if you’d like a thicker consistency.
Getting rid of visible chia seeds: If you’d prefer not to have visible chia seeds in your finished jam, puree the jam in a blender or with an immersion blender. If you’d like to keep a somewhat chunky texture, blend just a portion of the jam with the chia seeds, then stir it back in with the rest of the jam.
Enjoy!
Xo Chelsea
Strawberry Chia Jam
Ingredients
- 2 cups chopped fruit
- 1 to 2 tablespoons lemon juice to taste
- 1 to 2 tablespoons honey agave, maple syrup, or sugar, to taste
- 2 tablespoons chia seeds plus more if needed
Instructions
- Prepare the fruit as needed: Remove stems, pits, seeds, and skin, as needed.
- Chop large fruits into small pieces. Berries can be left whole.
- Cook the fruit until it starts to break down: Transfer the fruit to a saucepan and set over medium heat. Cook until the fruit breaks down and becomes syrupy, 5 to 10 minutes.
- Mash the fruit with the back of a spatula or a potato masher, leaving it as smooth or as lumpy as you like.
- Stir in the honey and lemon juice: Off the heat, stir in 1 tablespoon of the honey and lemon juice. Taste and add more honey or lemon juice to taste.
- Stir in the chia seeds and let stand 5 minutes, until thickened: This won’t quite reach the firm consistency of regular jam, but it will noticeably thicken. If you’d like a thicker consistency, especially with very juicy fruits, stir in more chia seeds 1 teaspoon at a time.
- Transfer to a jar or other storage container: Once the jam has cooled to room temperature, transfer it to a jar or other storage container. Store in the fridge for about 2 weeks. The jam will thicken further and become more set once completely chilled. The jam can also be frozen for up to 3 months; thaw in the fridge before using.


Your recipes are amazing! Made these for the kids and they couldn’t stop eating them, thank you!
You are so welcome!!